Sign in to MyAIOne
Go to dev.myai1.ai/login and sign in with your email and password, or use passkey. New to MyAIOne? Use the register link to create an account first.
Open MyaiOne for Development and start a new project
From your MyAIOne dashboard, open the MyaiOne for Development rig. Inside MyaiOne for Development, click + New Project (top right) to launch the Add Project wizard — a 5-step flow that sets up your project with optional CI/CD and a preview deploy.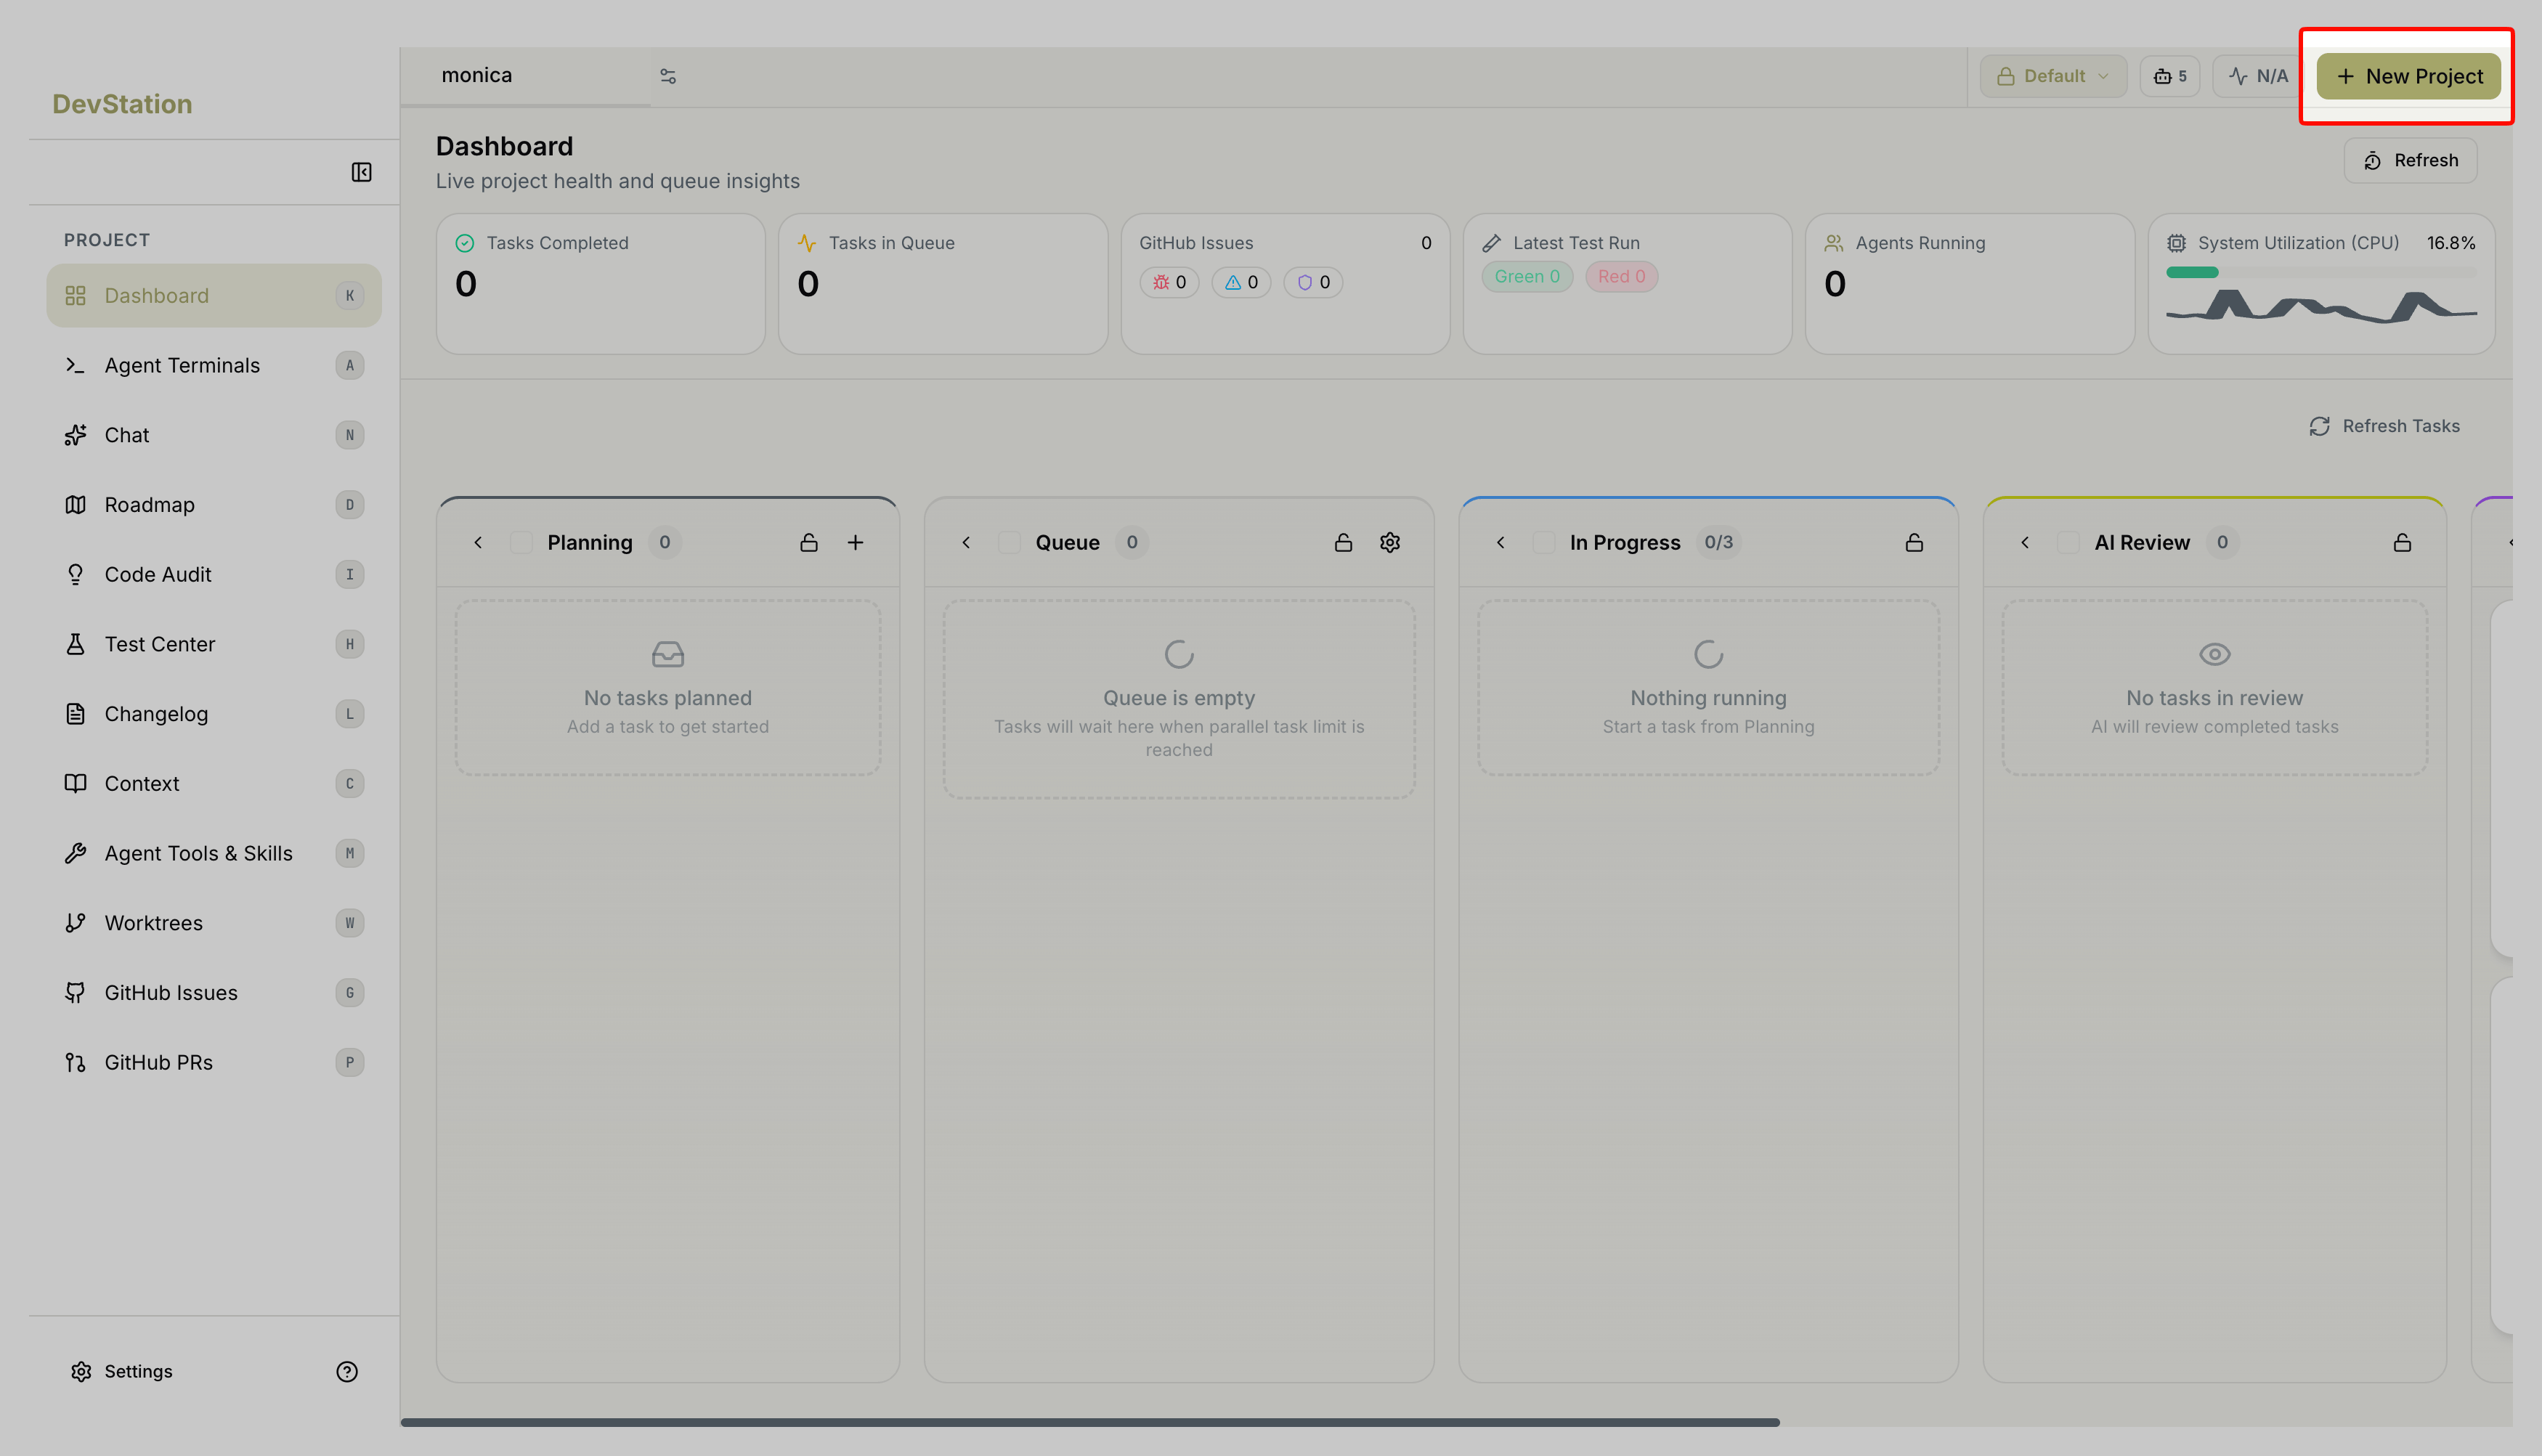
Choose how to start
On the wizard’s first step, pick a path. You can switch later by restarting the wizard.
- Start a new project — scaffold from a curated toolchain; MyaiOne for Development seeds the README, CI workflow, and agent files.
-
Open an existing project — bring in code you already have, from a local folder or cloned fresh from GitHub.

- Start a new project
- Open an existing project
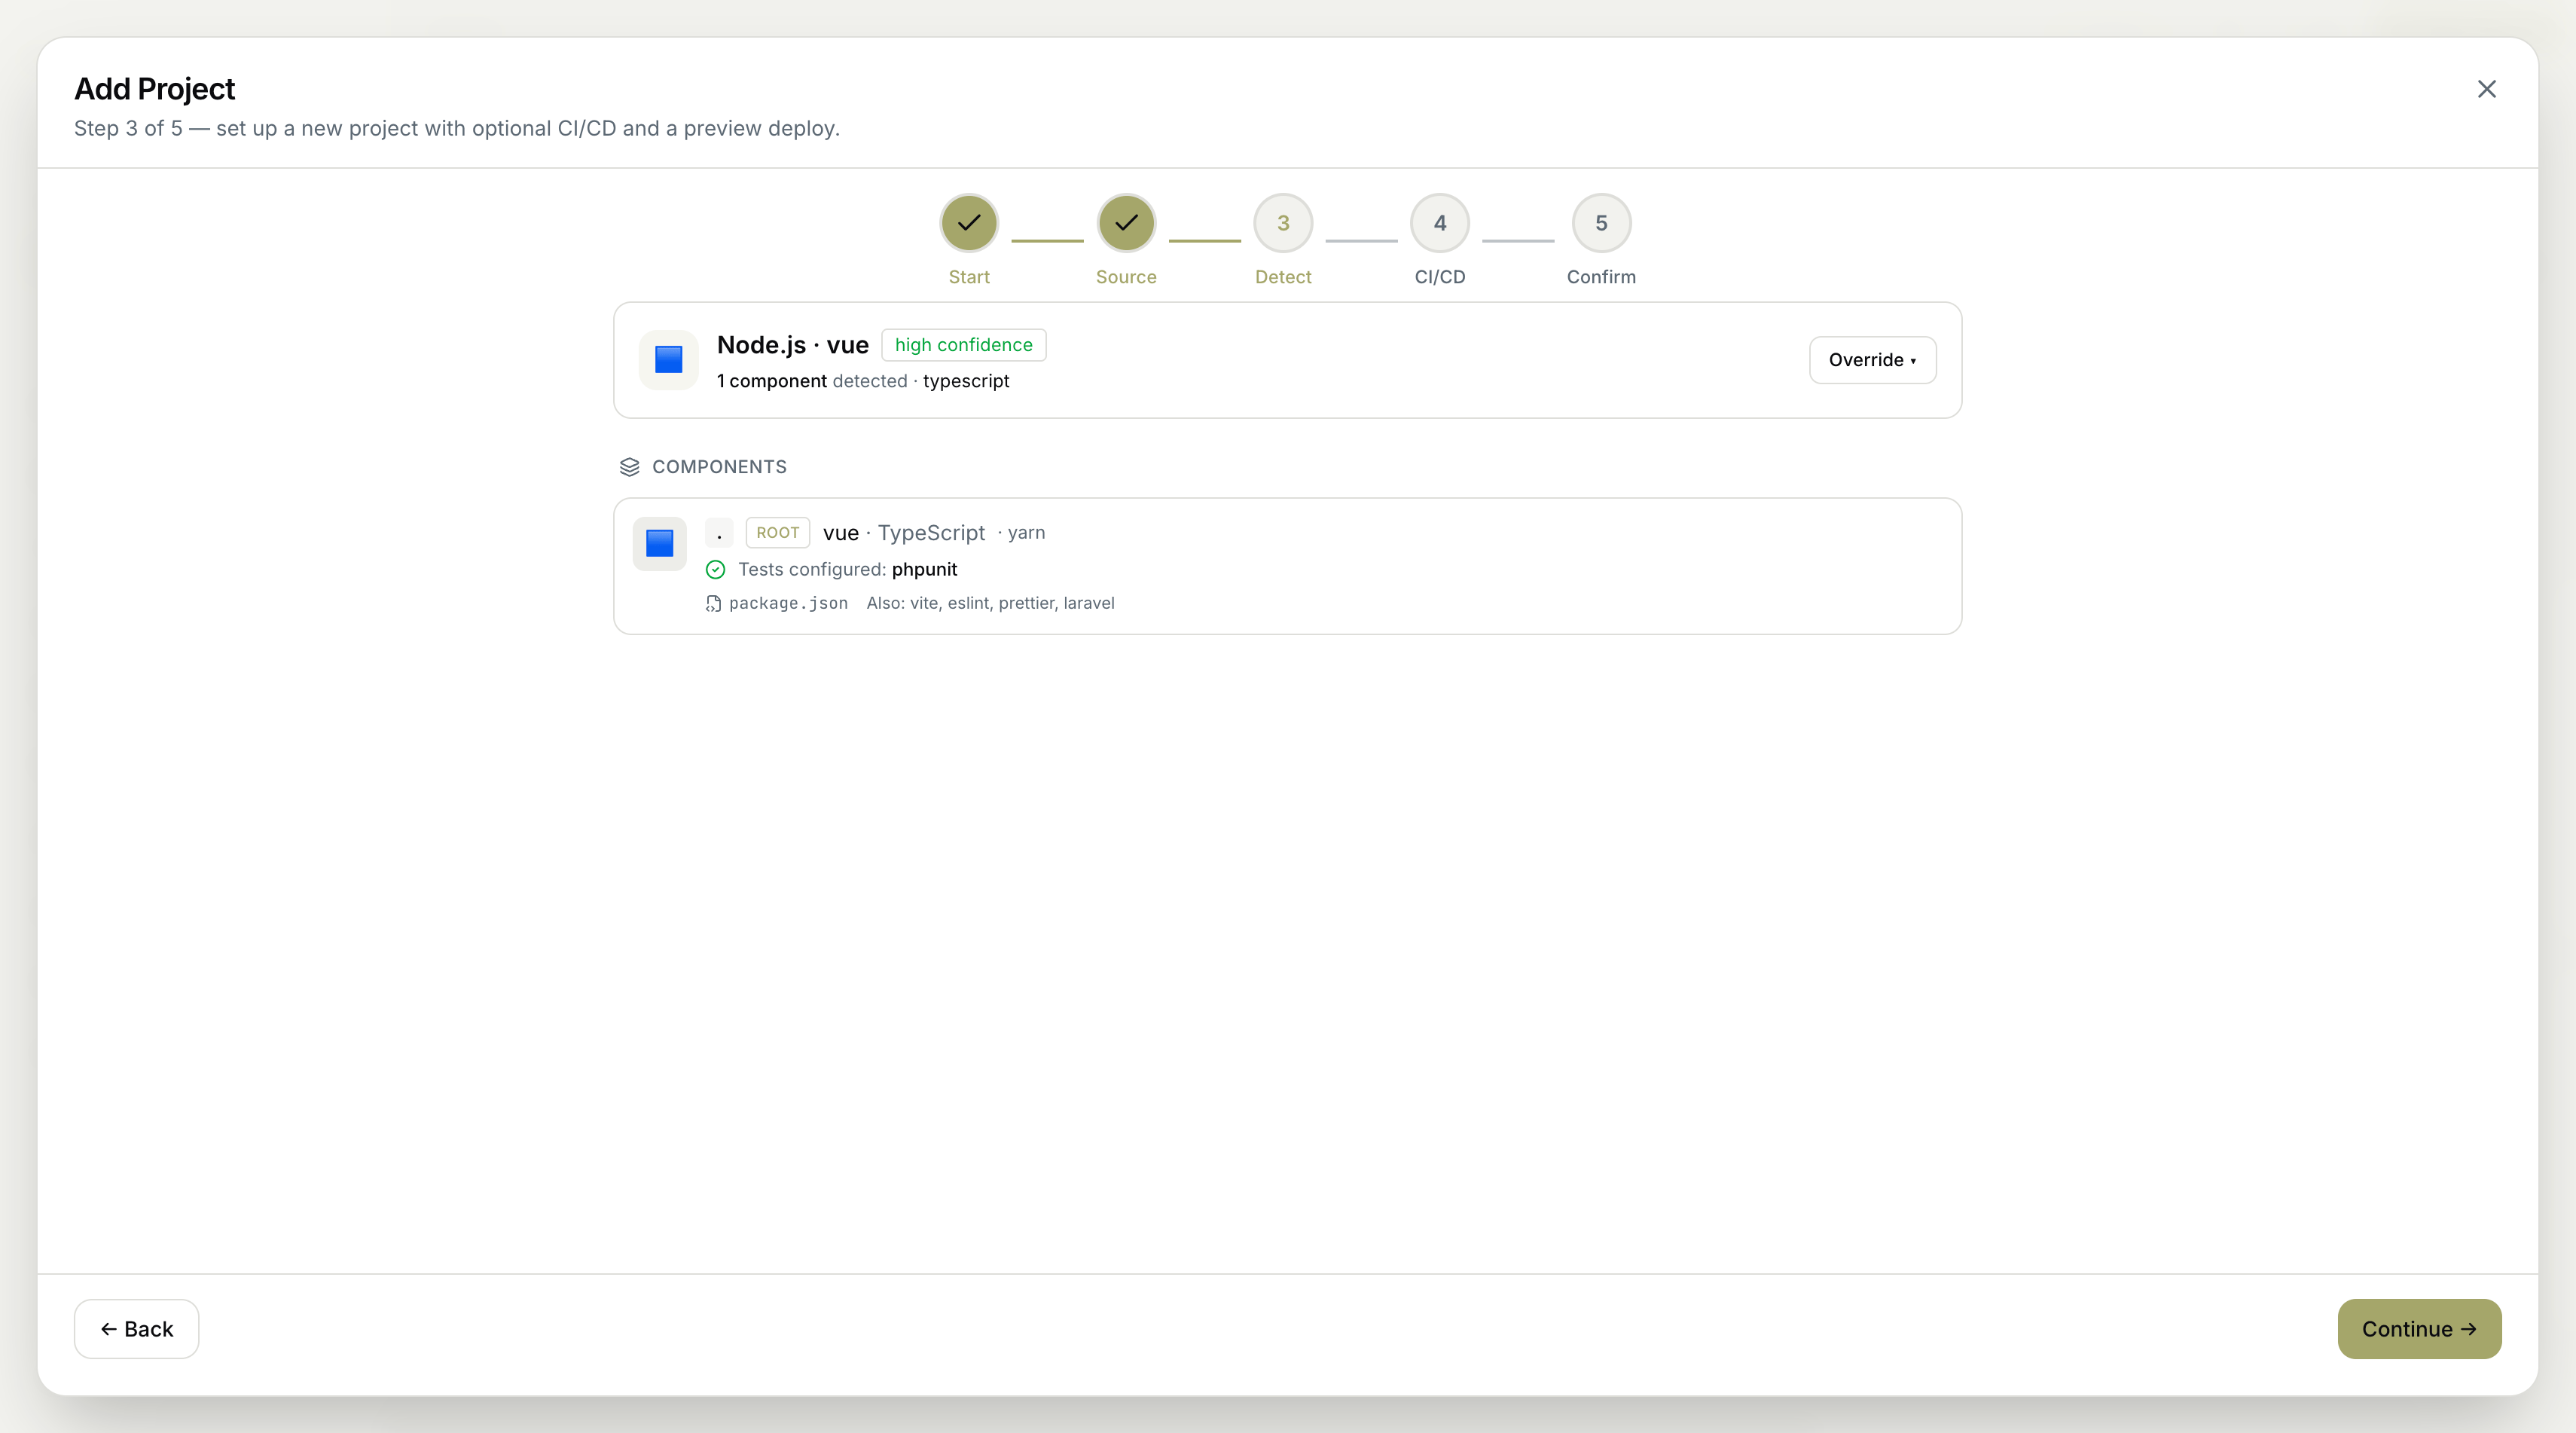
Step 2 — Toolchain. Pick a starting point. Search or filter by category (Backend / Web / Mobile / Desktop) and choose a toolchain — for example Python (uv, ruff, mypy, pytest), JavaScript / TypeScript (Node, ESLint, Vitest), React (Web), Go, Rust, .NET (C#), Java, or Ruby. The agent scaffolds framework choices from your project description in the next step.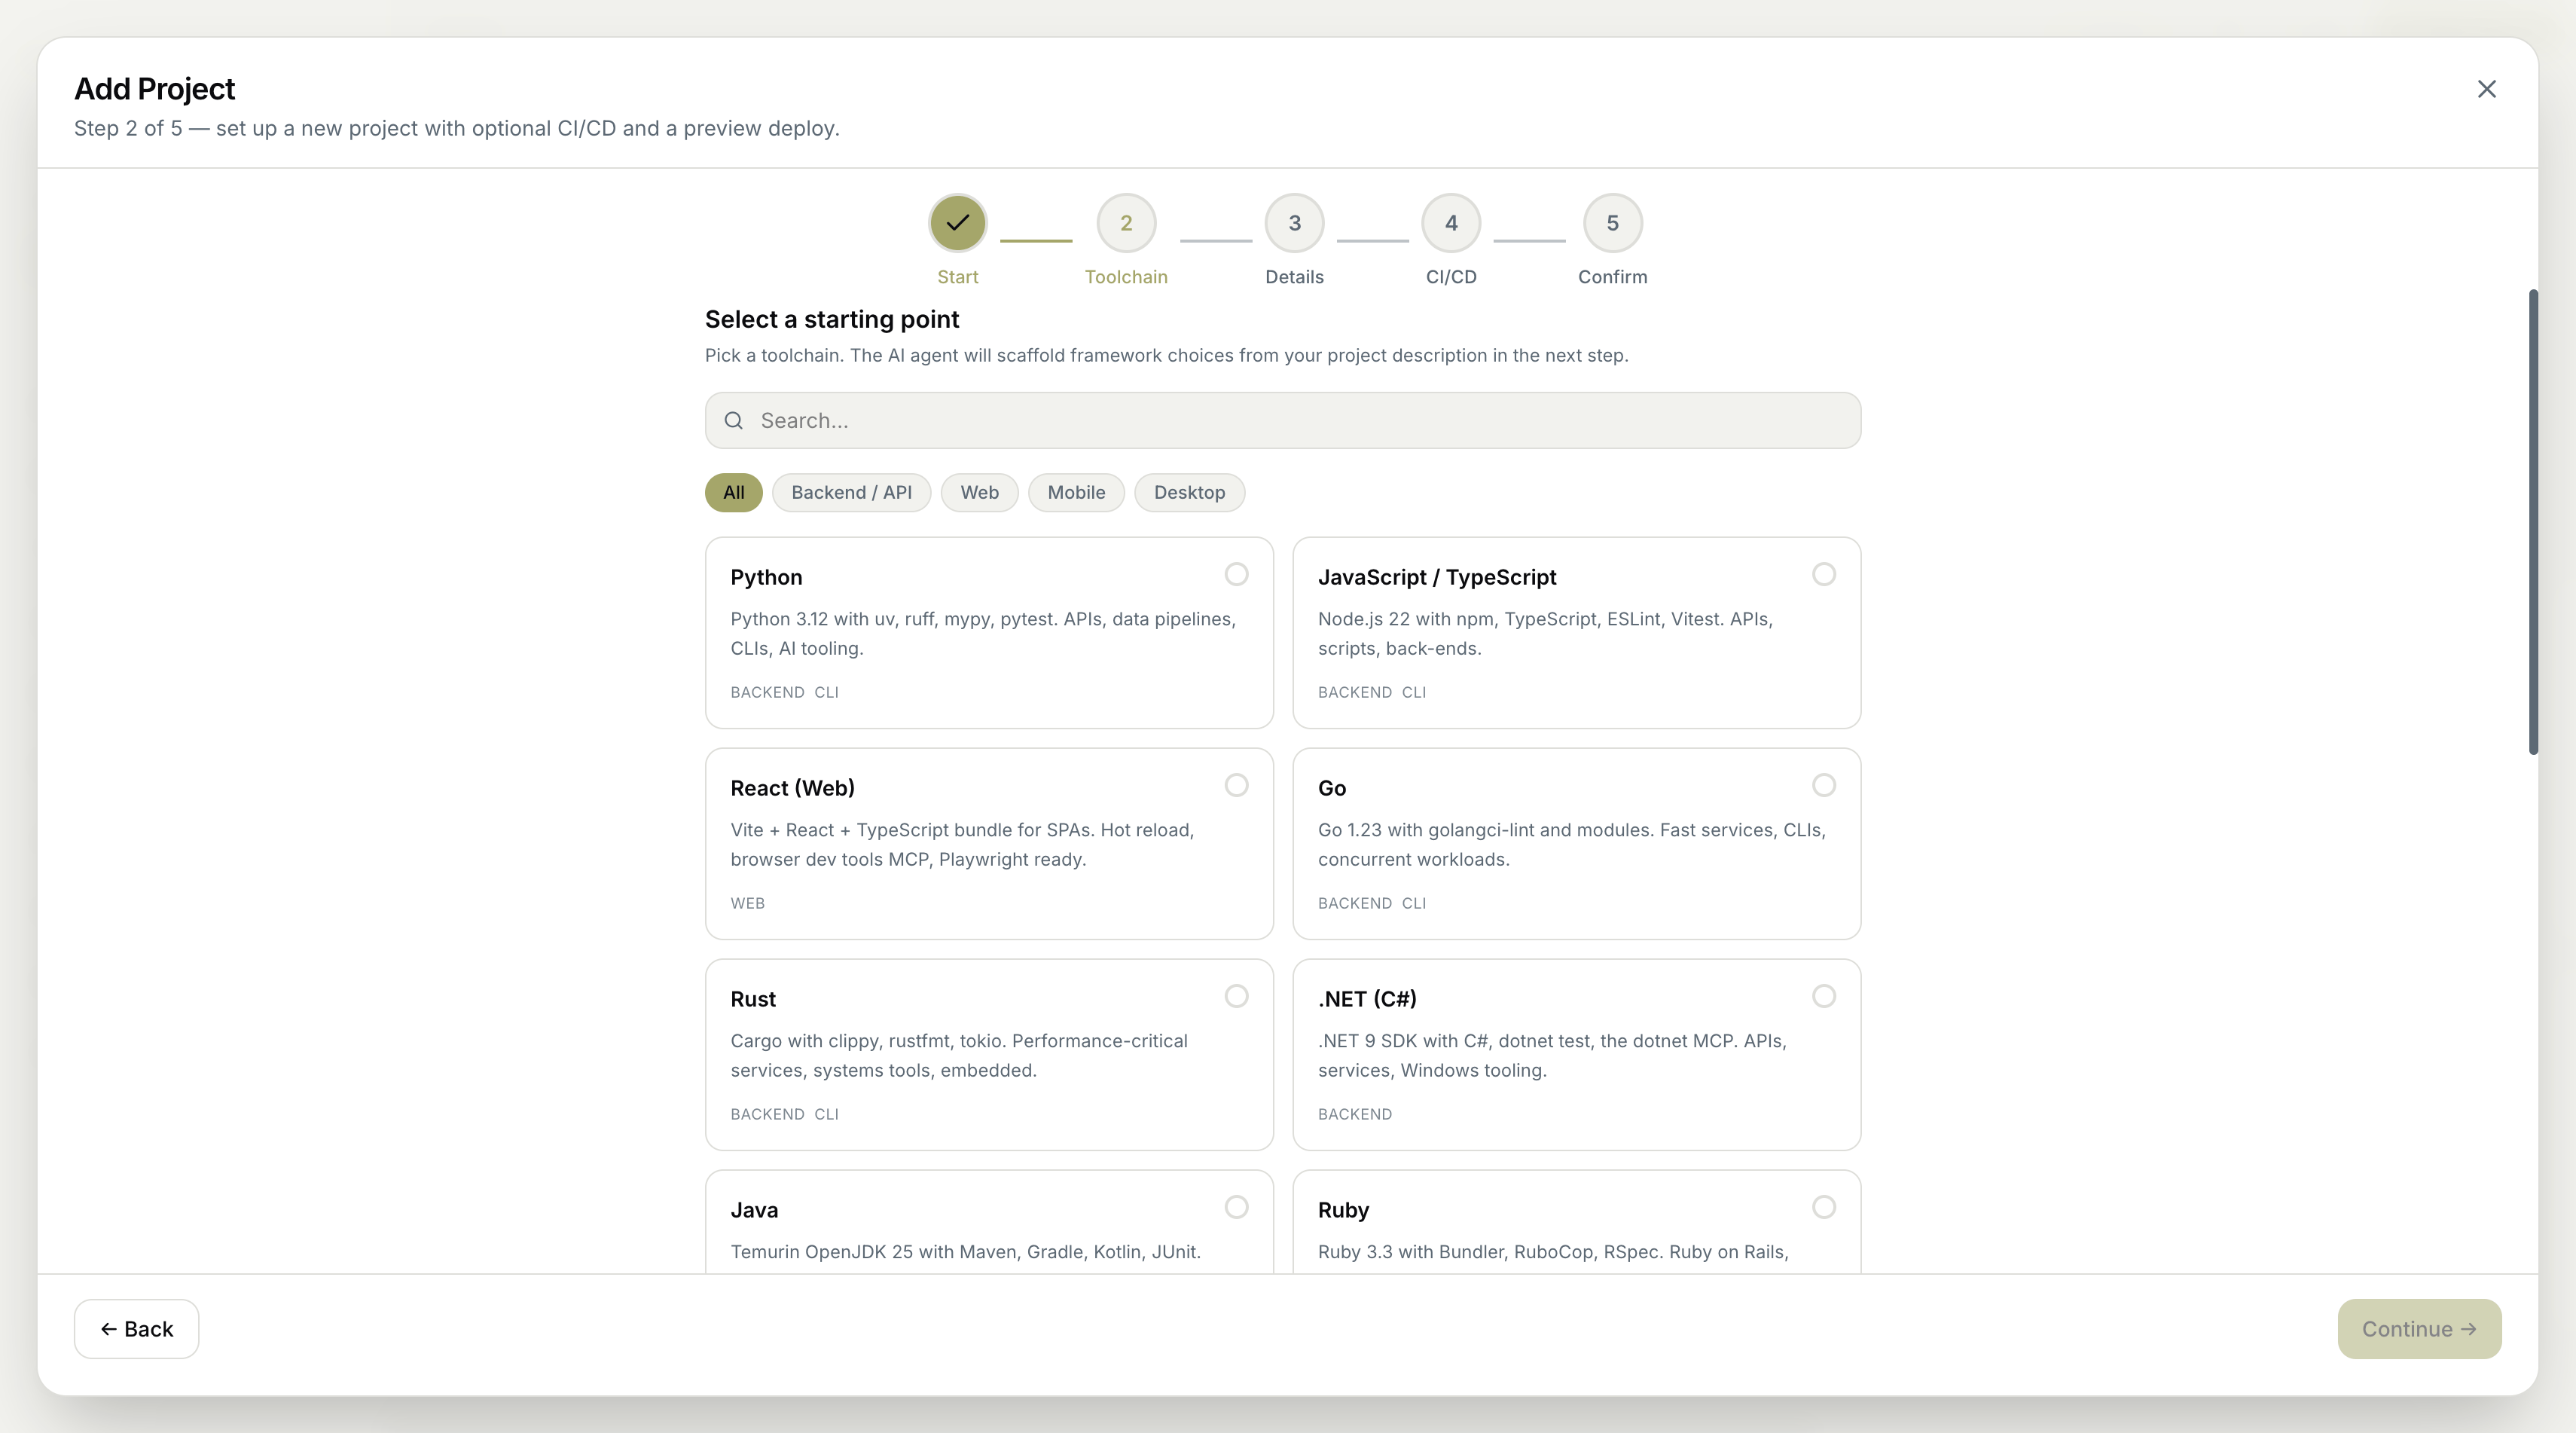

AGENTS.md) and read by the AI on first interaction, so describe the goal, the audience, and any non-obvious constraints. A “Files we’ll seed” panel previews what gets created (README.md, AGENTS.md, .github/workflows/ci.yml, .gitignore).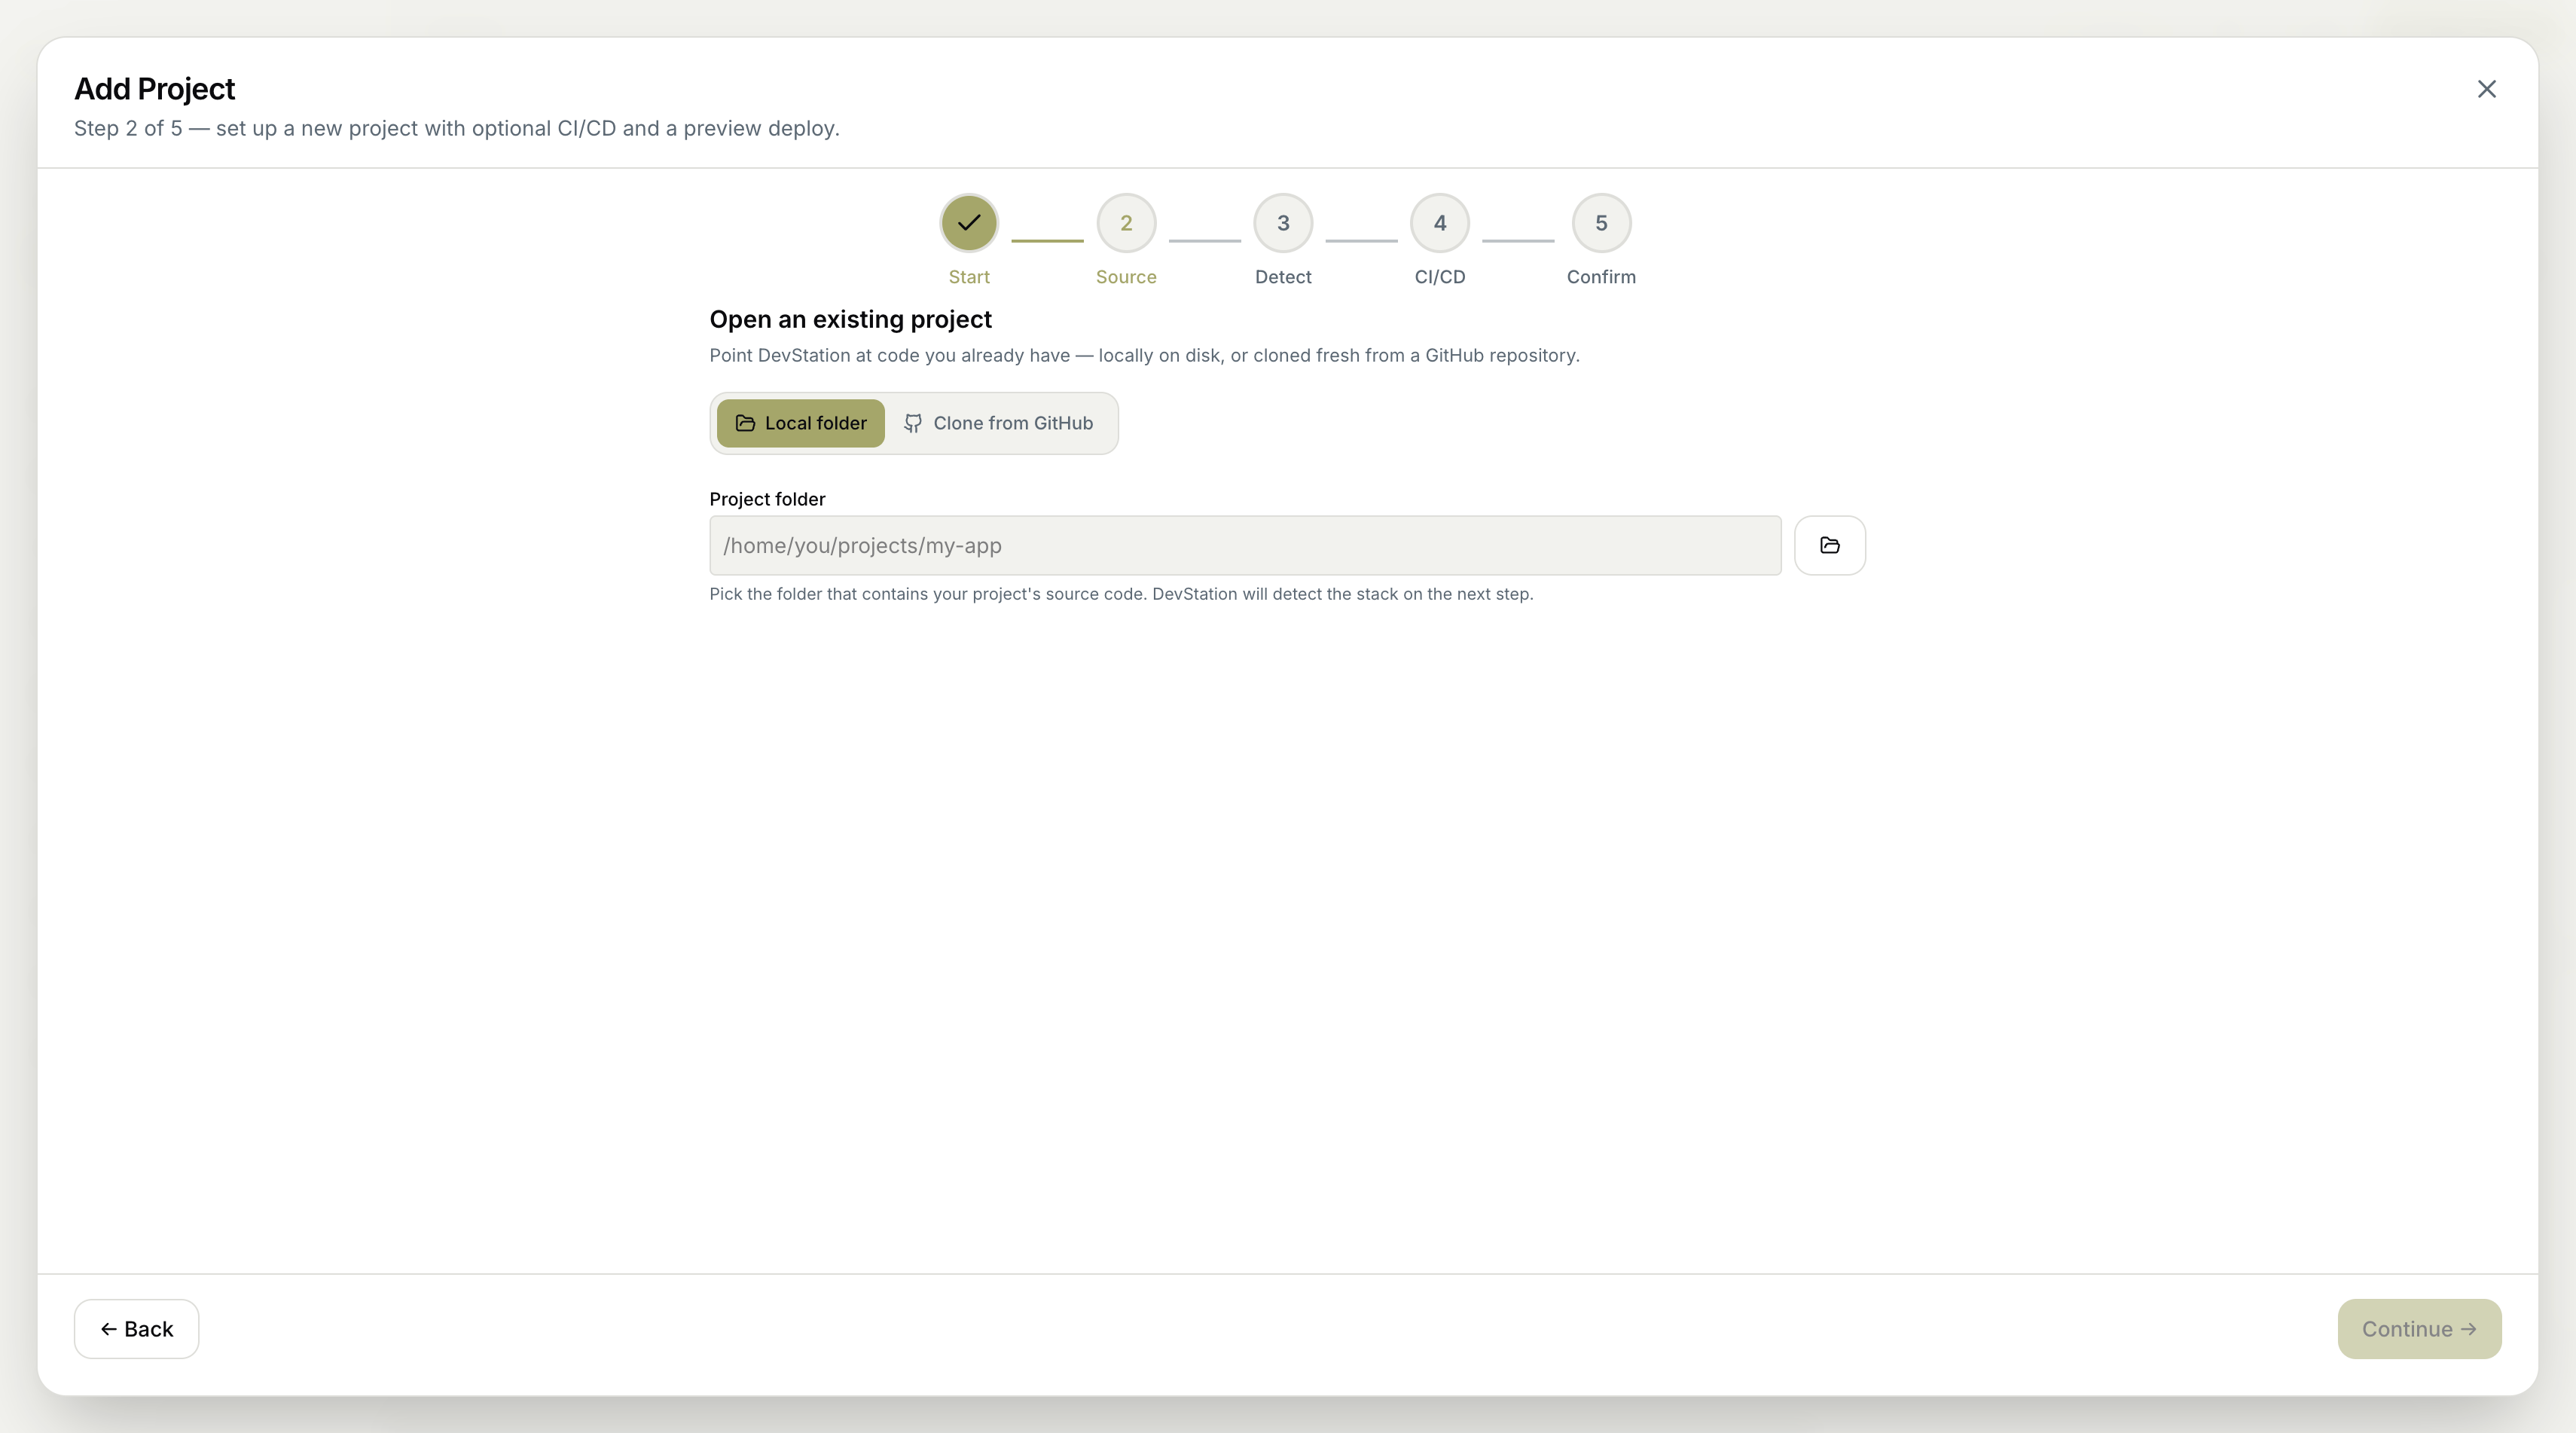
Review the CI/CD quality baseline
On the CI/CD step, MyaiOne for Development installs a complete staged CI/CD quality baseline and shows what it configured — security gates (SAST, secrets, dependency CVEs, filesystem, deep-scan), the quality gates it set up (Build and tests, Semgrep SAST, Gitleaks secrets, Dependency review + OSV, Trivy filesystem, CodeQL nightly), and the agent flow (Detect → Plan → Patch → Verify). For existing projects, your current files are preserved and new artifacts are staged for safe apply.
Confirm and create
The final Confirm step shows a project summary, an 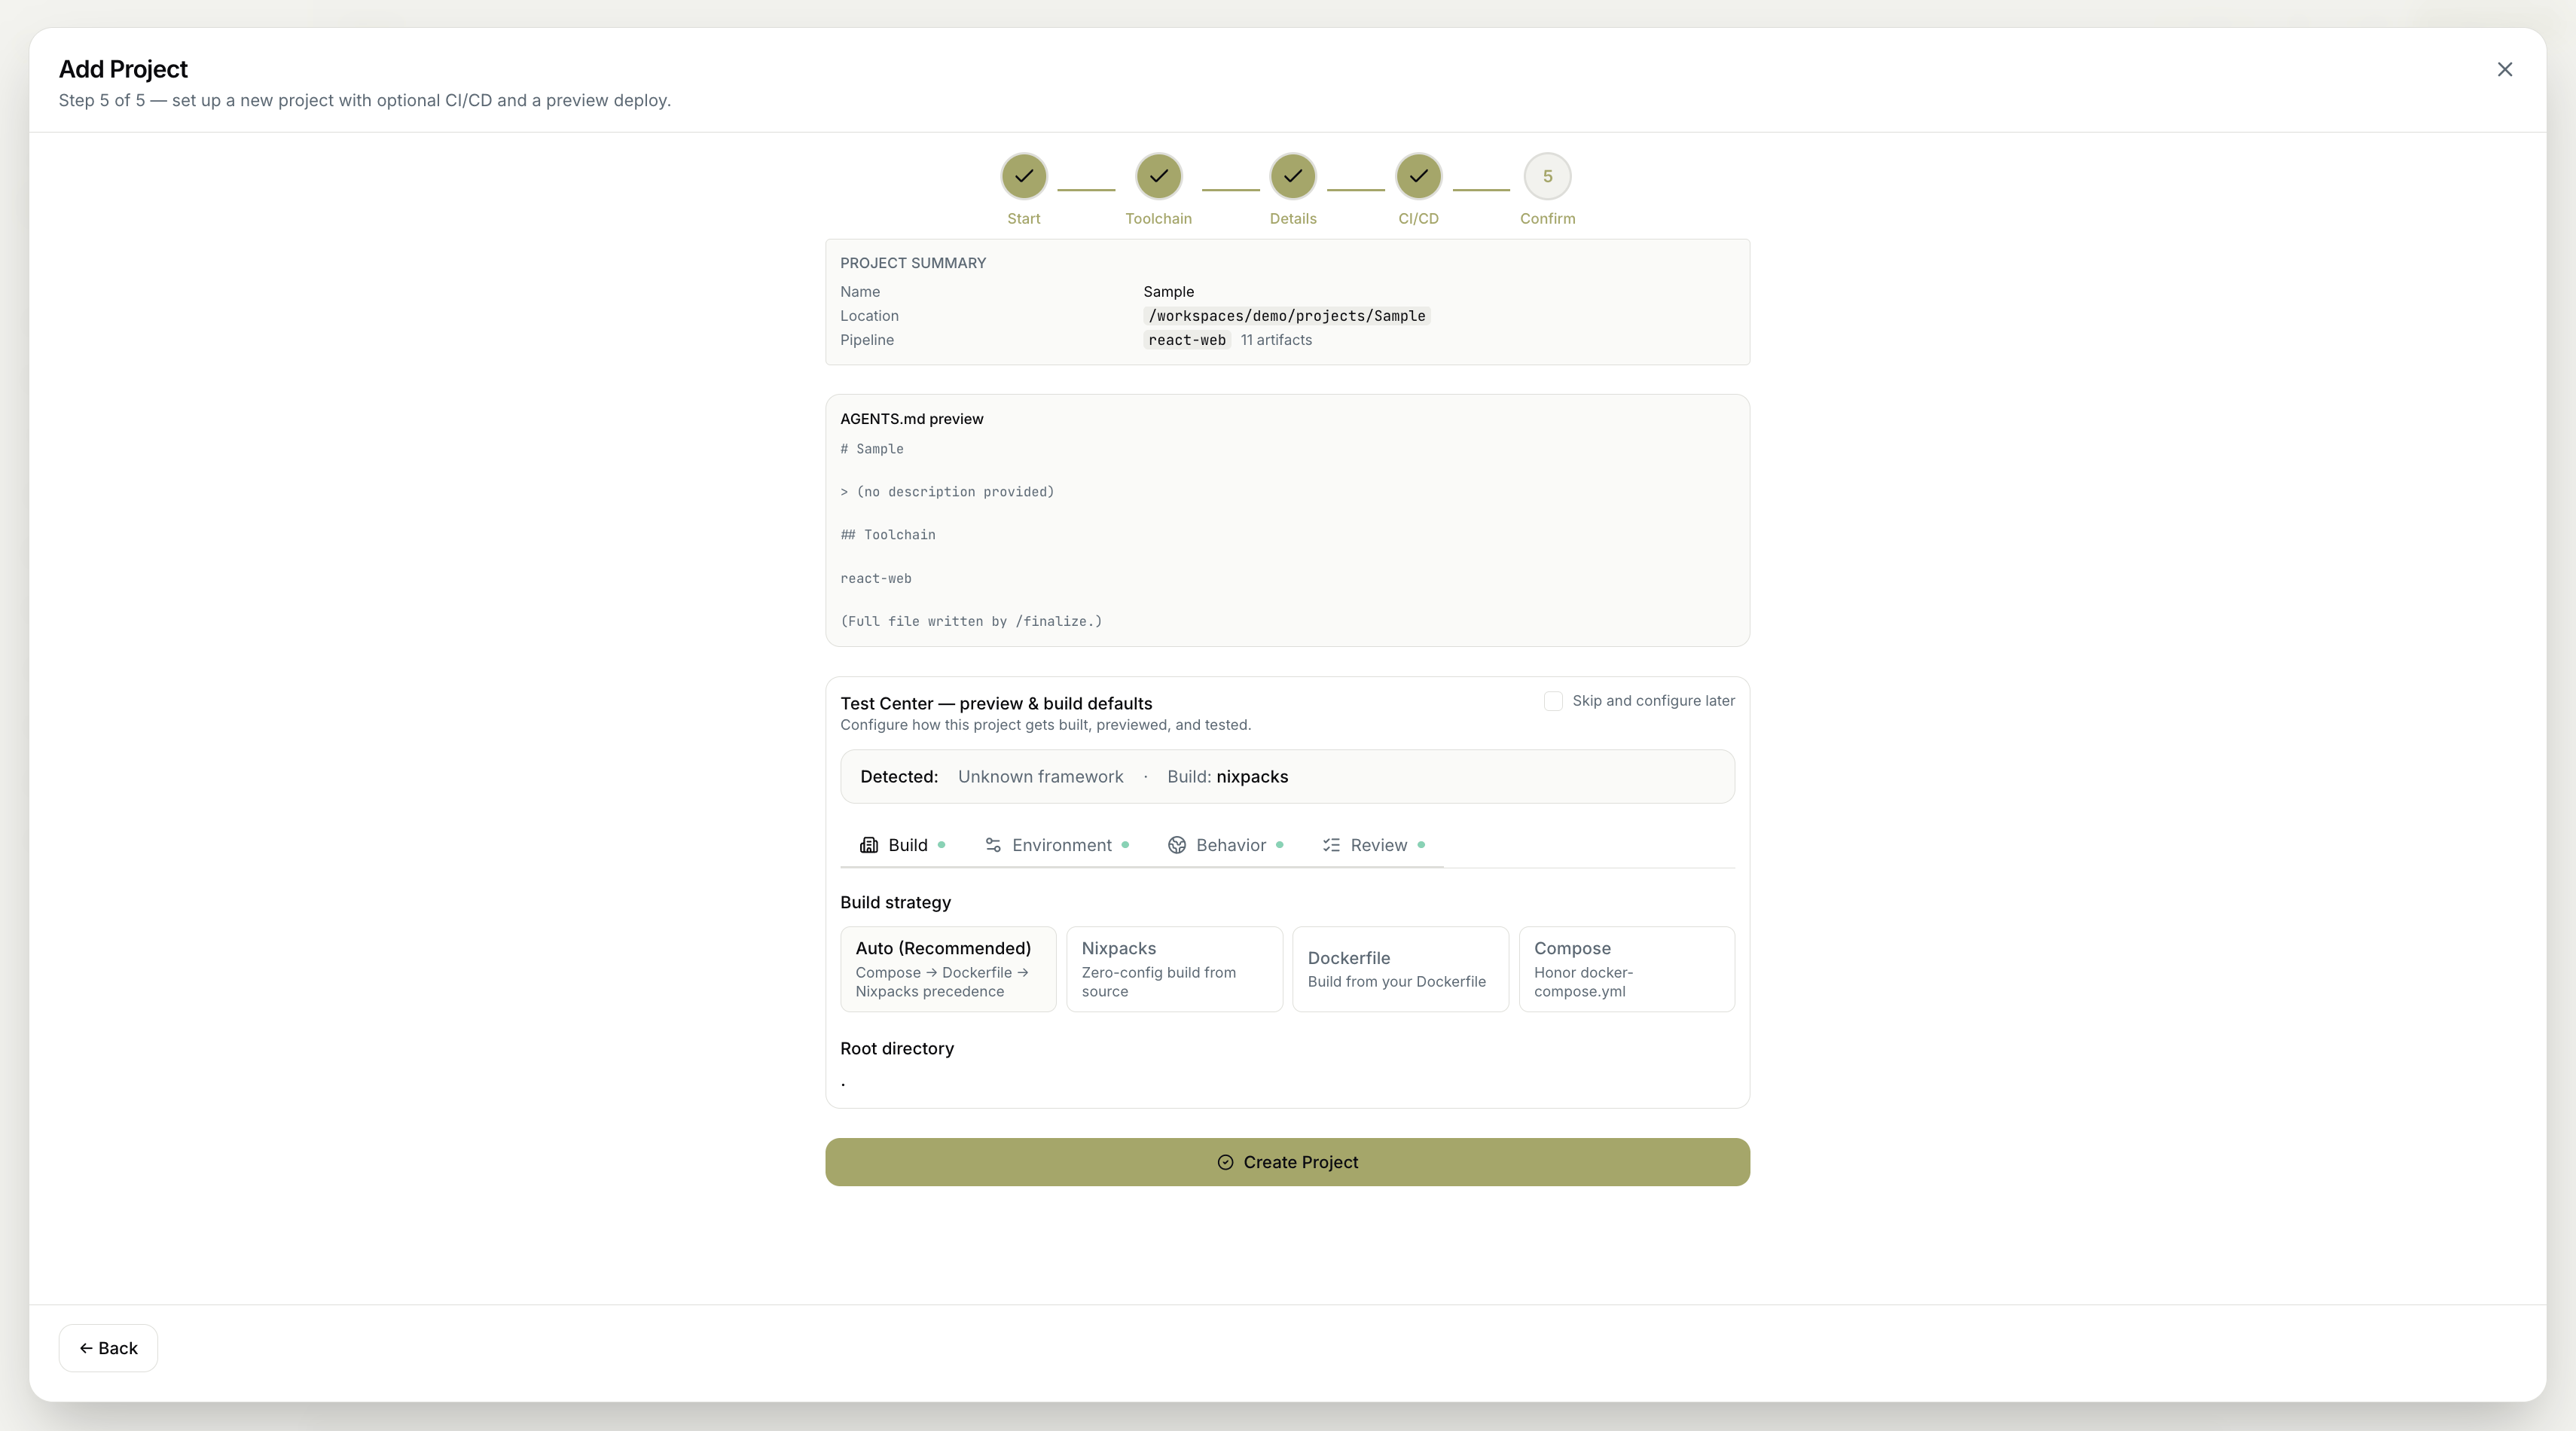
AGENTS.md preview, and Test Center — preview & build defaults, where you can set the build strategy (Auto, Nixpacks, Dockerfile, or Compose) or skip and configure it later. When you’re ready, click Create Project.You're in
MyaiOne for Development creates the project and drops you on the Dashboard — live project health and queue insights. You’ll see status cards (Tasks Completed, Tasks in Queue, GitHub Issues, Latest Test Run, Agents Running, System Utilization) and the kanban board (Planning → Queue → In Progress → AI Review → Human Review → Done), empty and ready for your first task.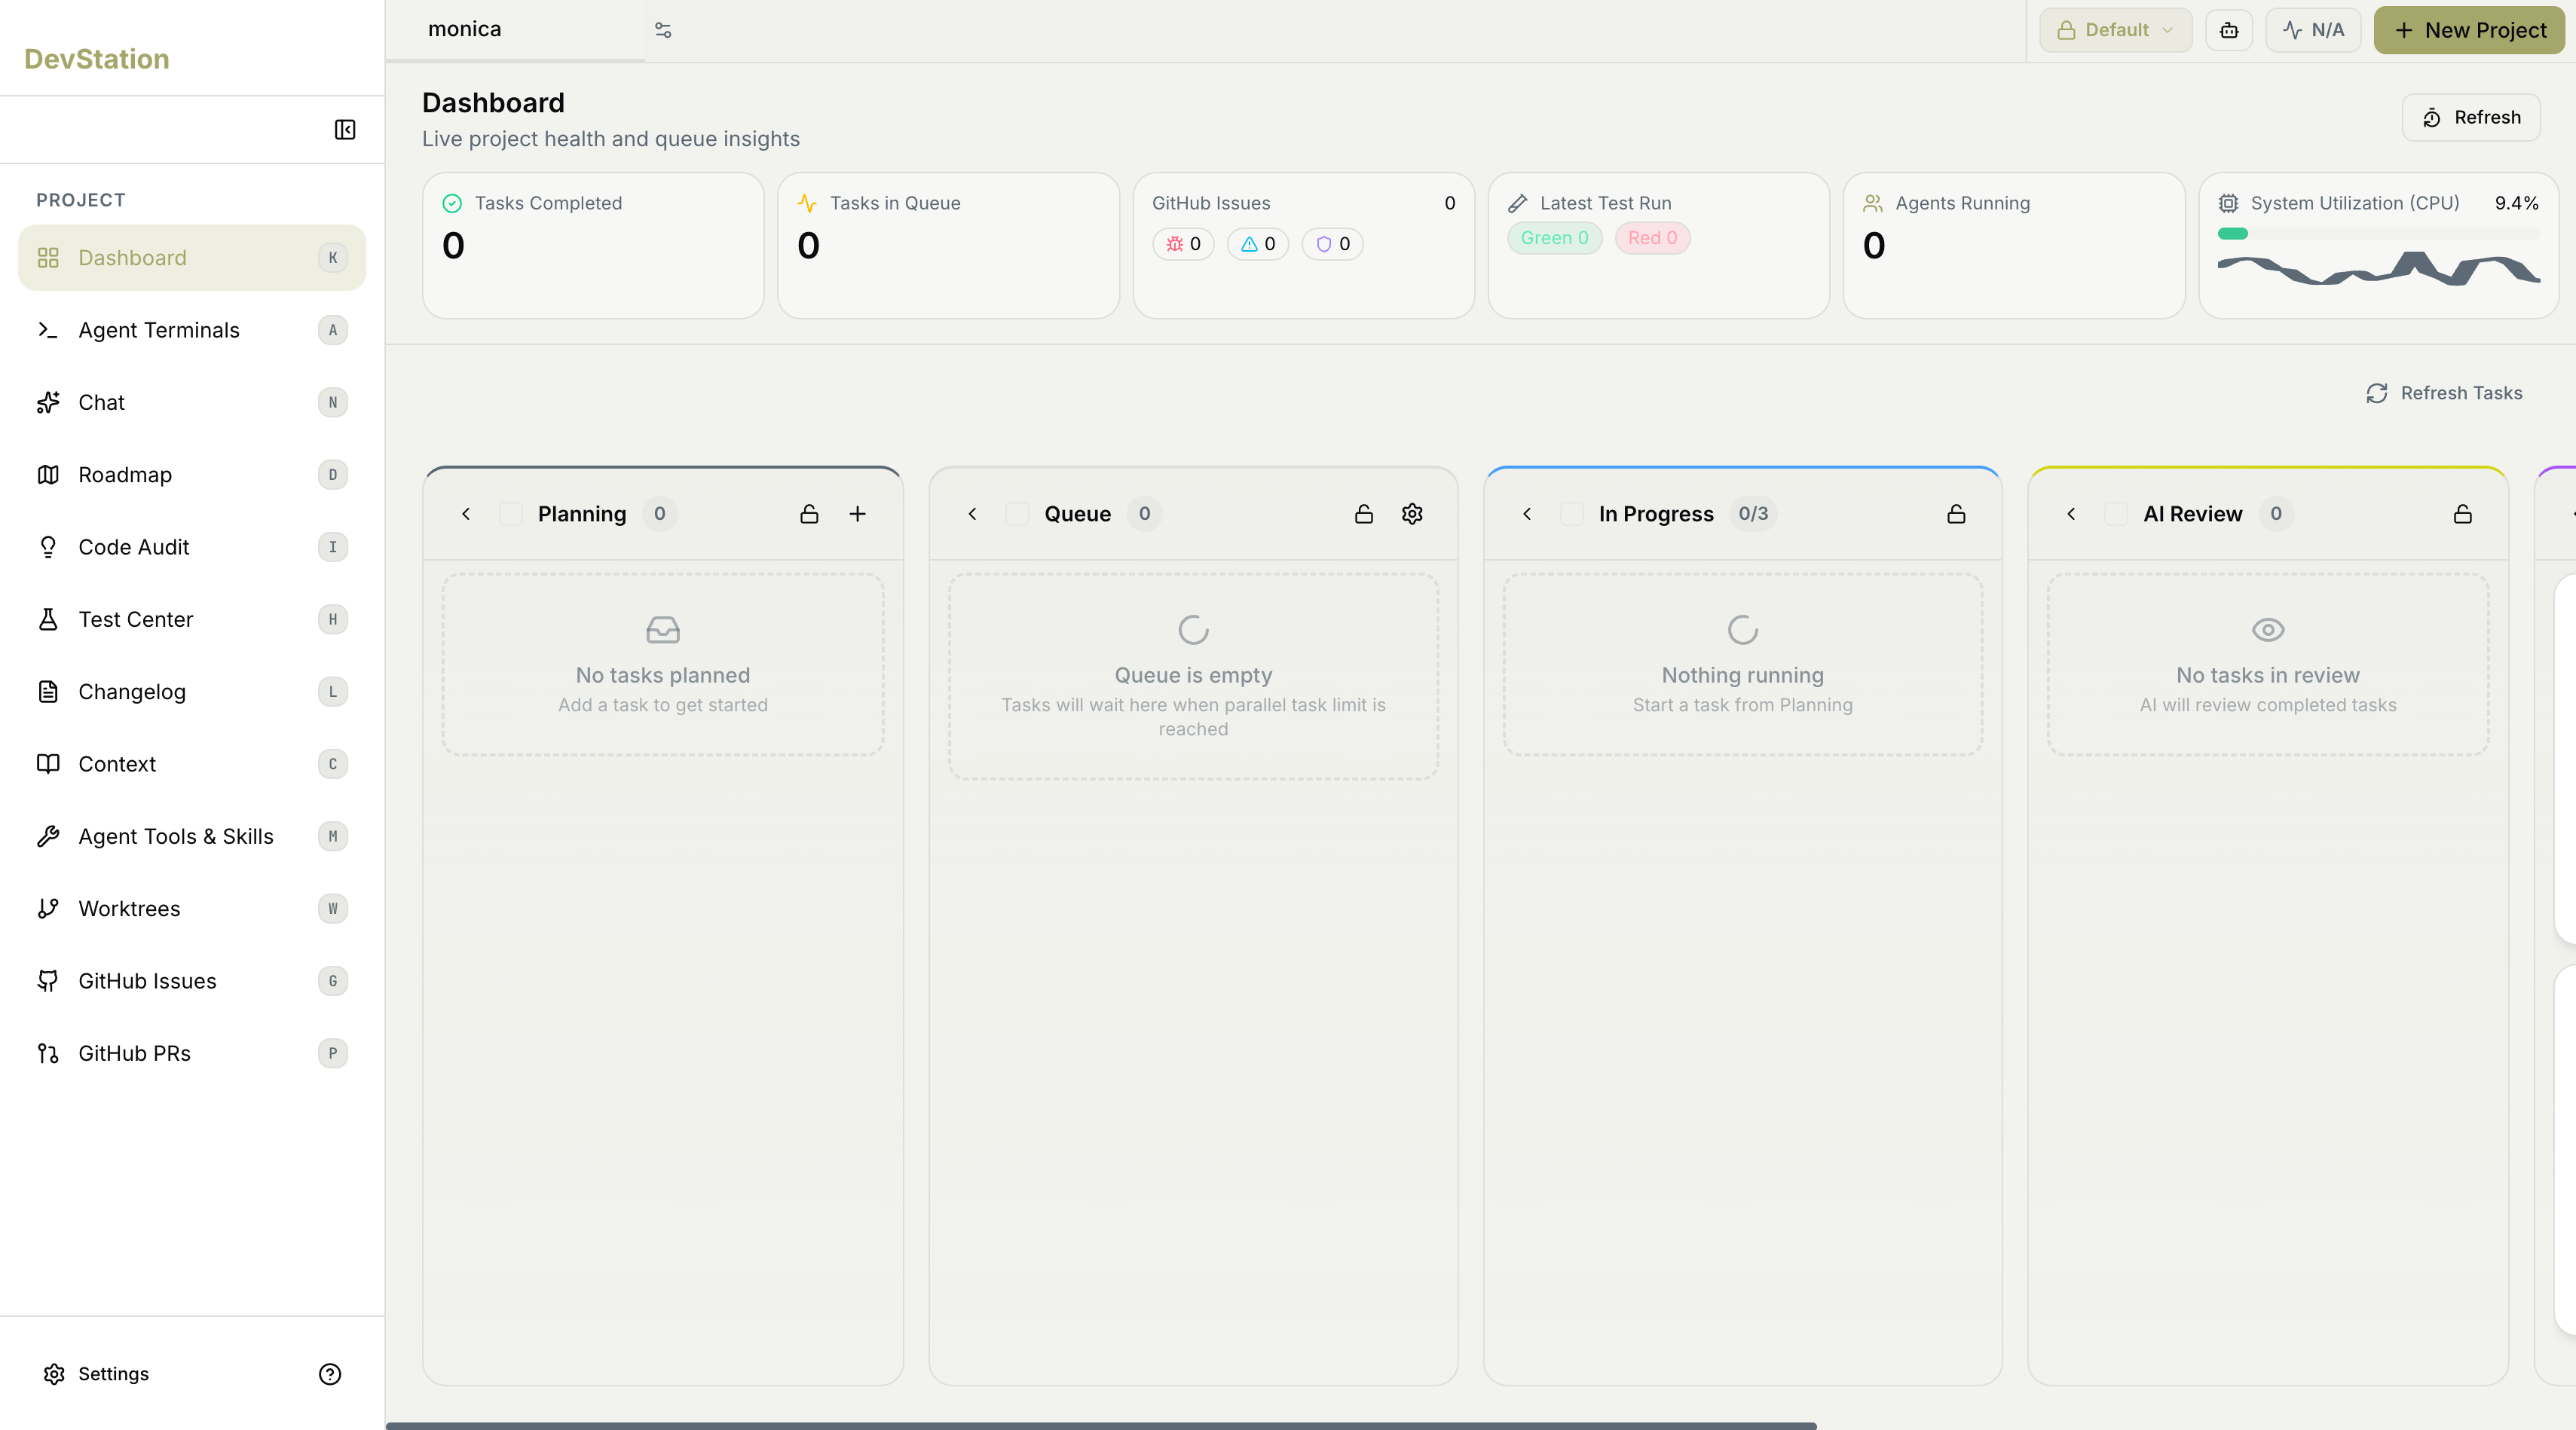
Your MyaiOne for Development project is live. Sign-in done, project created, workspace ready — from here you can add a task on the board, or jump into one of the guides below.